
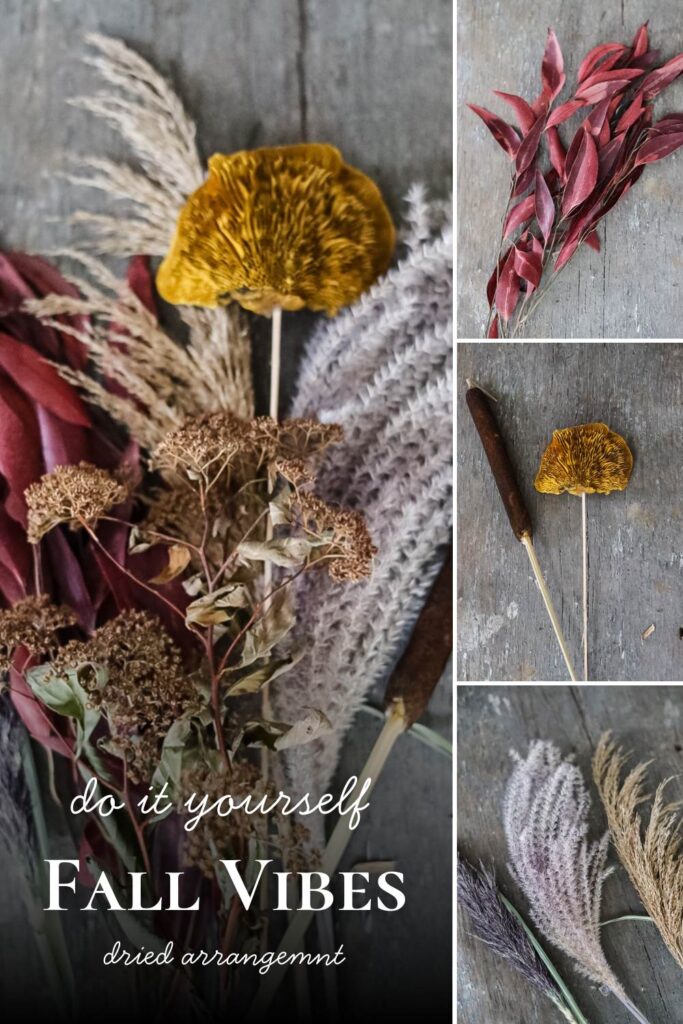
Let’s talk about my favorite kind of DIY: the $0 project. This stunning, oversized dried arrangement didn’t cost me a single penny. Today, I’m breaking down exactly how I made it using a thrifted planter and a mix of foraged and saved botanicals. If you have a pair of scissors and an eye for natural beauty, you can easily recreate this look and bring a major dose of organic texture into your home
DIY Dried Flower Arrangement: A “Use What You Have” Tutorial
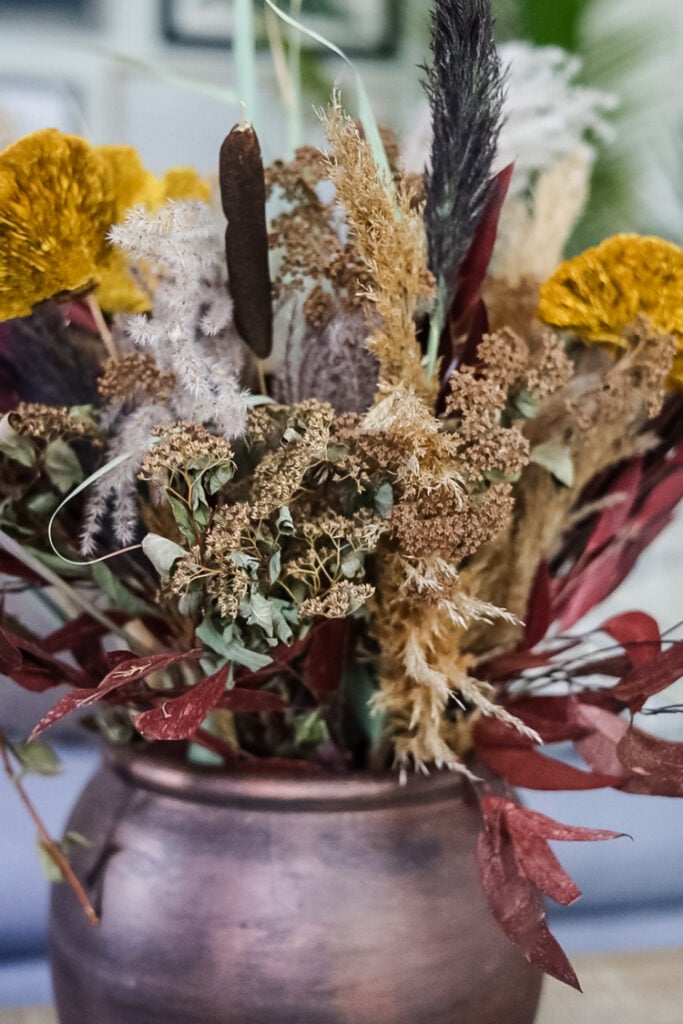
Is there anything more satisfying than creating something beautiful from what you already have? After sharing my “Buy Nothing New Fall” living room, one piece stole the show: the lush, textural dried arrangement on my coffee table. I’m so excited to pull back the curtain and show you just how simple it is to create your own stunning dried centerpiece using foraged finds and thrifted treasures. This project is a love letter to creativity over consumption, and I can’t wait to guide you through it.
Why You’ll Love This Project
- Cost-Effective: The total cost was $0 for this specific arrangement.
- Sustainable: You’re using natural, foraged, or repurposed materials.
- Customizable: Use whatever grasses, flowers, and vessels you have access to.
- Long-Lasting: Dried arrangements can last for years with proper care.
Don’t worry if you don’t have the exact same botanicals that I used! The true beauty of this method is that it’s a technique, not a recipe. You can follow these same steps using whatever beautiful, dried, or interesting elements you can forage from your yard, find on a walk, or pull from your own craft stash. Whether it’s wild grasses, interesting weeds, dried herbs from your garden, or even pretty branches, the principles of building height, adding texture, and creating balance remain the same. Your unique version will be just as stunning!
This post may contain affiliate links, which means we receive a small commission if you purchase through our links. See our disclaimer page for more information.
Supplies I Used
Materials for this Project
- Vessel: A large, thrifted ceramic planter (any sturdy vase, pitcher, or pot will work!)
- Foraged from my yard: Ornamental grass plumes, dried flower heads (like hydrangea, sedum)
- From my stash: Different varieties of pampas grass, cattails, red preserved leaves, yellow shelf mushrooms
- Tool: Scissors or garden shears
- Piece of Chicken Wire
Step-by-Step Tutorial:
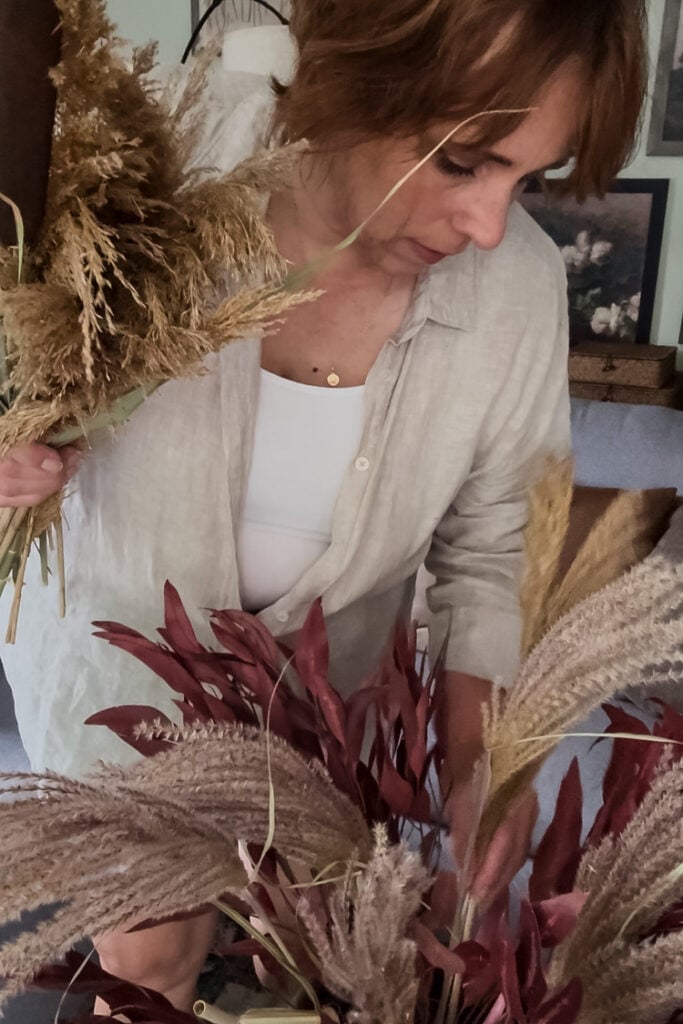
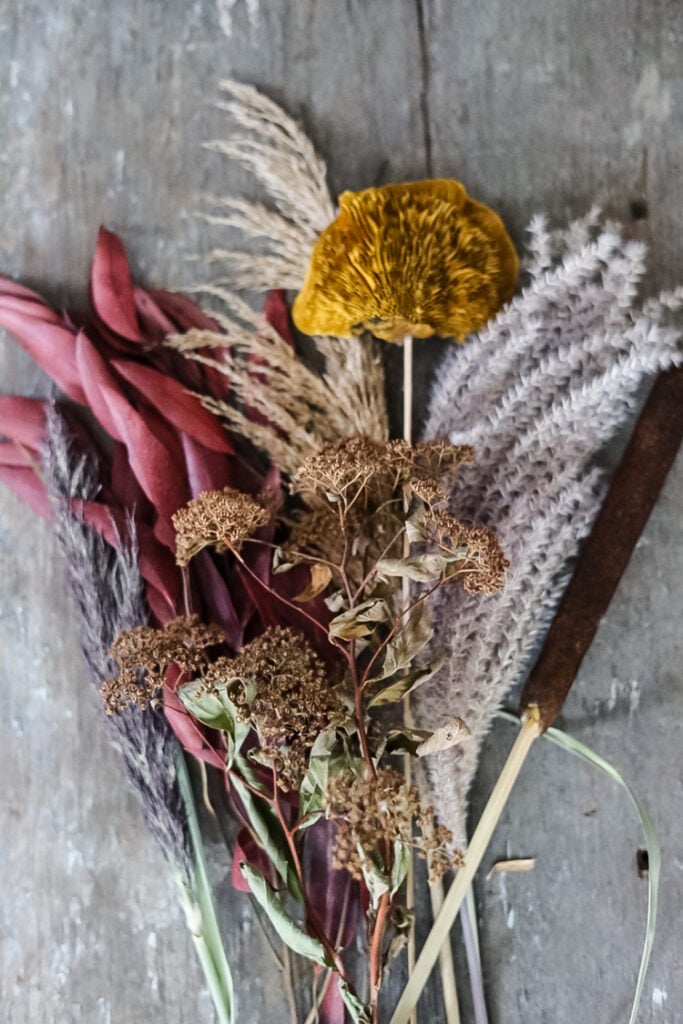
Step 1. Gather Your Materials
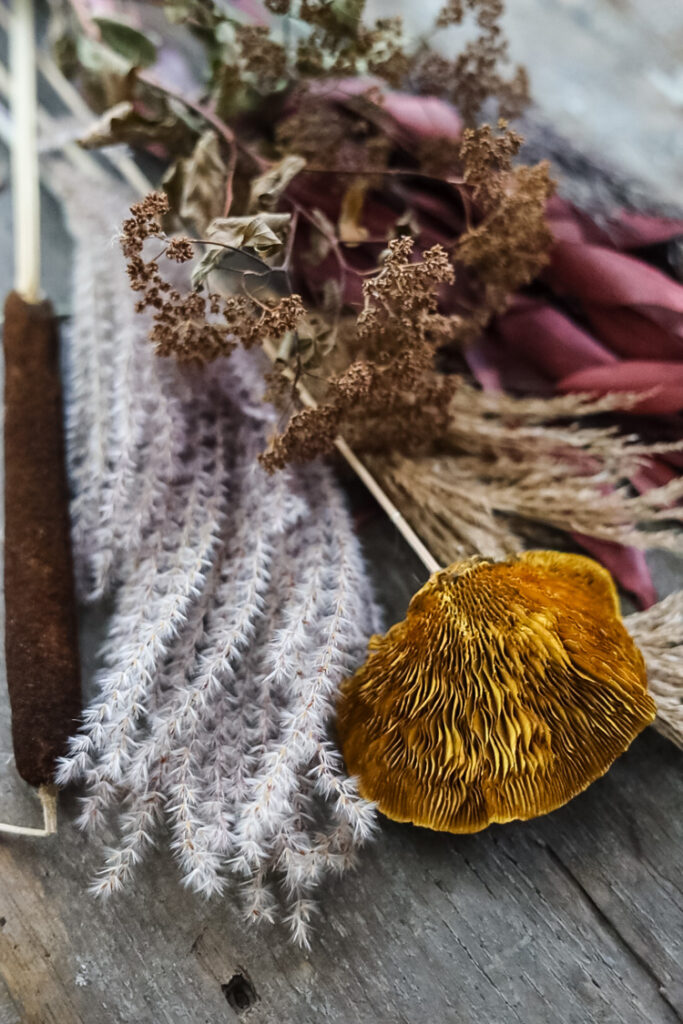
The first step is the most fun! Take a basket and explore your yard, garden, or even a friendly neighbor’s property (always ask first!). Look for interesting grasses, seed pods, and dried flowers. Then, “shop” your own decor stash for any preserved elements you’ve collected over the years, like my shelf mushrooms and preserved leaves.
Here are some similar dried & preserved botanicals that I found:
Step 2. Prepare Your Vessel

My absolute favorite trick for arranging both fresh and dried flowers is to use a scrunched-up piece of chicken wire placed inside the vessel. It creates a flexible, invisible support system that makes arranging stems so much easier! (Just be careful with the sharp ends of the chicken wire)
Don’t have chicken wire? No problem! Here are two simple alternatives:
- The Tape Grid: Crisscross clear Scotch tape or water-resistant floral tape across the opening of the vase to create a grid. This gives stems something to lean against.
- Floral Foam: For a very secure hold, especially in a wide vessel, you can use a block of dry floral foam (oasis) cut to fit snugly inside. This is great for more intricate designs.
3: Establish Your Base Layer
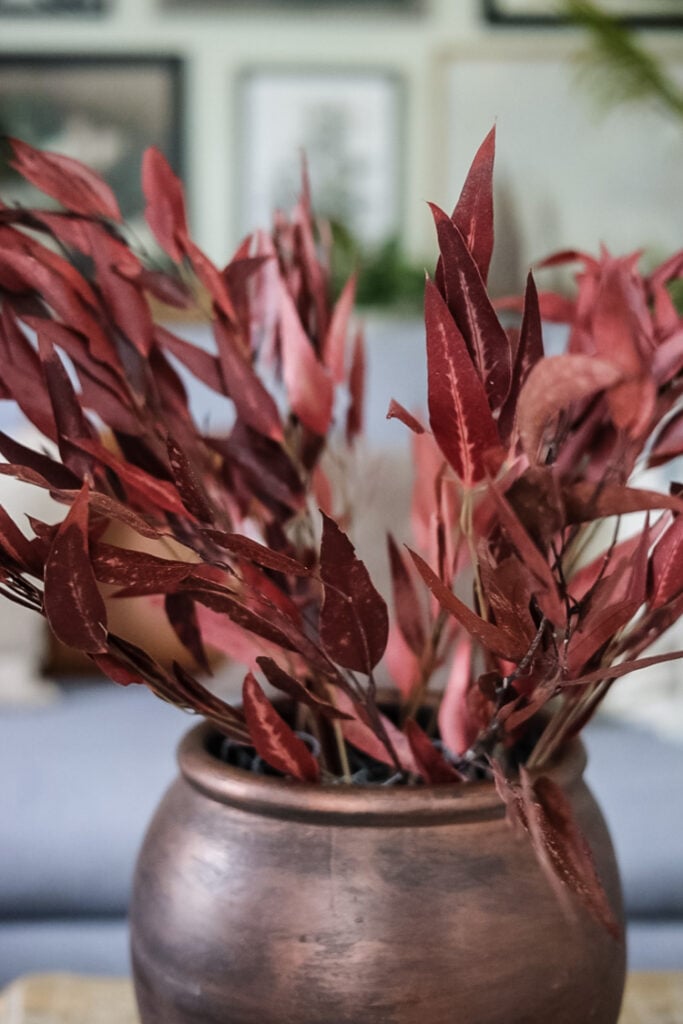
I began with my red preserved leaf stems. Because they are flexible and have a graceful, flowing shape, I used them to create the initial base layer and overall form of the arrangement.
Key tip: Be sure to scatter these stems all around your vessel, aiming for an even distribution. This ensures your arrangement looks full and balanced from every angle, and the leaves will add beautiful color and movement at the core of the design.
Step 4: Add Height and Airiness with Grasses
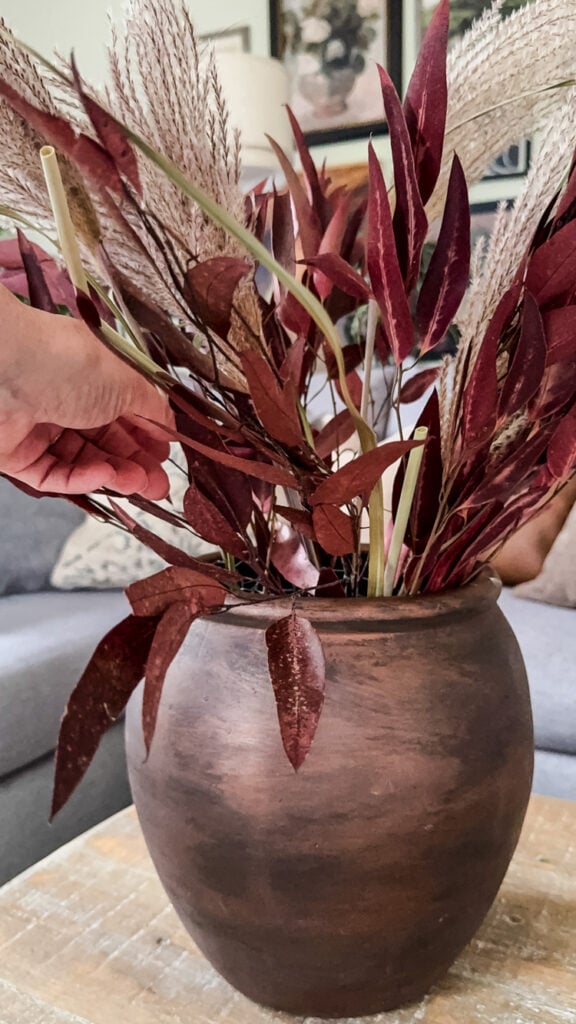
Next, I added the ornamental grass plumes that I cut fresh from my yard. These are perfect for adding softness, height, and a wonderful airy texture that makes the arrangement feel light and organic.
Insert them at varying heights throughout the arrangement, allowing some to arch gracefully over the base layer of leaves. This creates immediate visual interest and builds upon your foundation.
Step 5: Introduce Softness with Pampas Plumes
Now, for a touch of softness and warmth, I incorporated a couple of smaller, fluffier pampas plumes in a different color. These were slightly smaller than the ornamental grasses but had a wonderful, cloud-like texture.
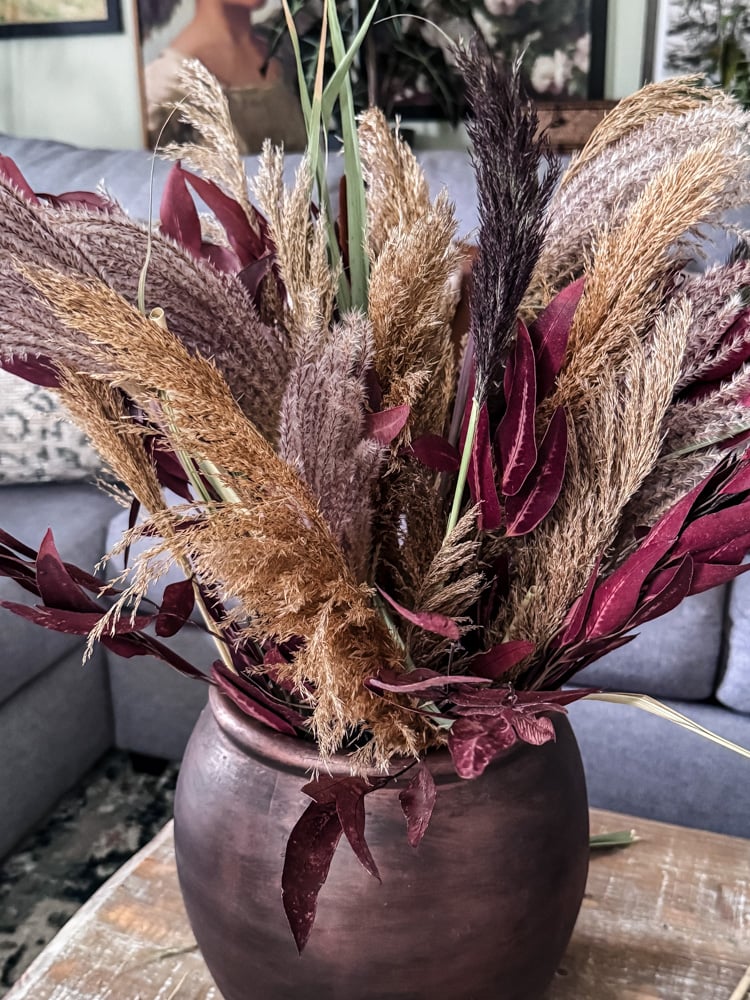
Tuck these in among the taller grasses and leaves. Their fluffy shape helps to fill any gaps and adds a cozy, inviting feel to the arrangement. By using a different color, they also create a beautiful, subtle contrast.
Step 6: Incorporate Dried Flower Heads for Texture
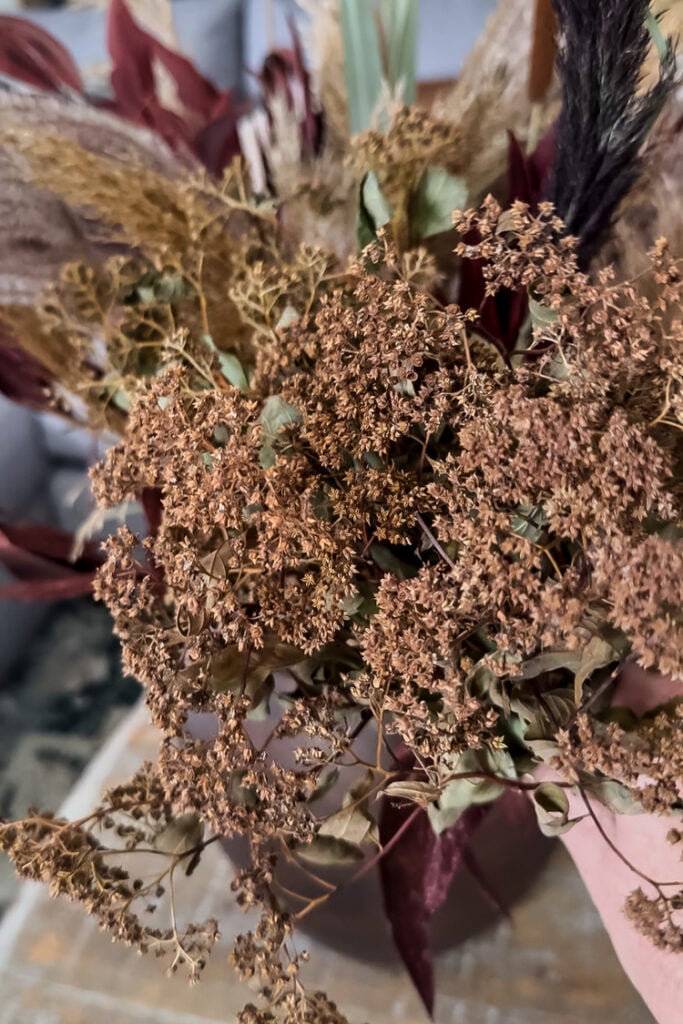
To add a different shape and more intricate texture, I carefully added dried flower heads from a spirea bush. These delicate, clustered blooms break up the flow of the grasses and add a lovely, rustic charm.
Gently nestle these flower heads into the arrangement, focusing on areas where they can be seen from the front and sides. They act as beautiful focal points that draw the eye and add a layer of refined, garden-grown detail.
Step 7: The Final Flourish with Cattails and Mushrooms
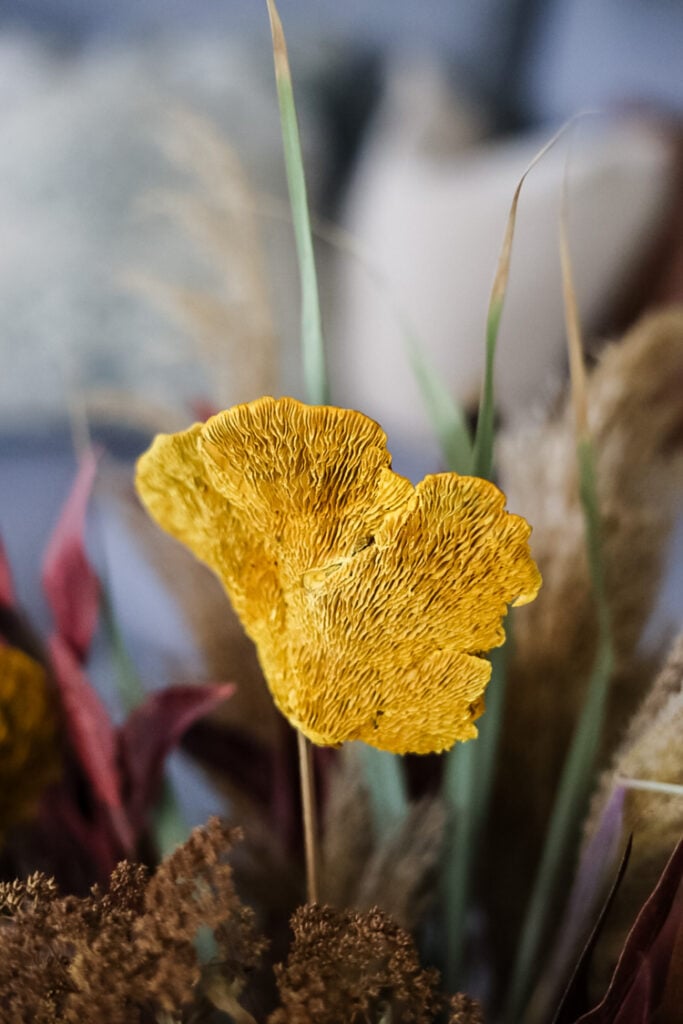
For the final layer, I added the structural cattails and unique yellow shelf mushrooms. The cattails add wonderful vertical lines and a classic autumn feel, while the mushrooms bring an unexpected, whimsical touch and a pop of color.
Remember the power of odd numbers for a natural, balanced look! You don’t need a large quantity of these statement pieces to make a big impact. I used just three cattails to create strong vertical lines and five mushroom stems to form a captivating focal point. Using odd numbers helps the arrangement feel more organic and visually pleasing.
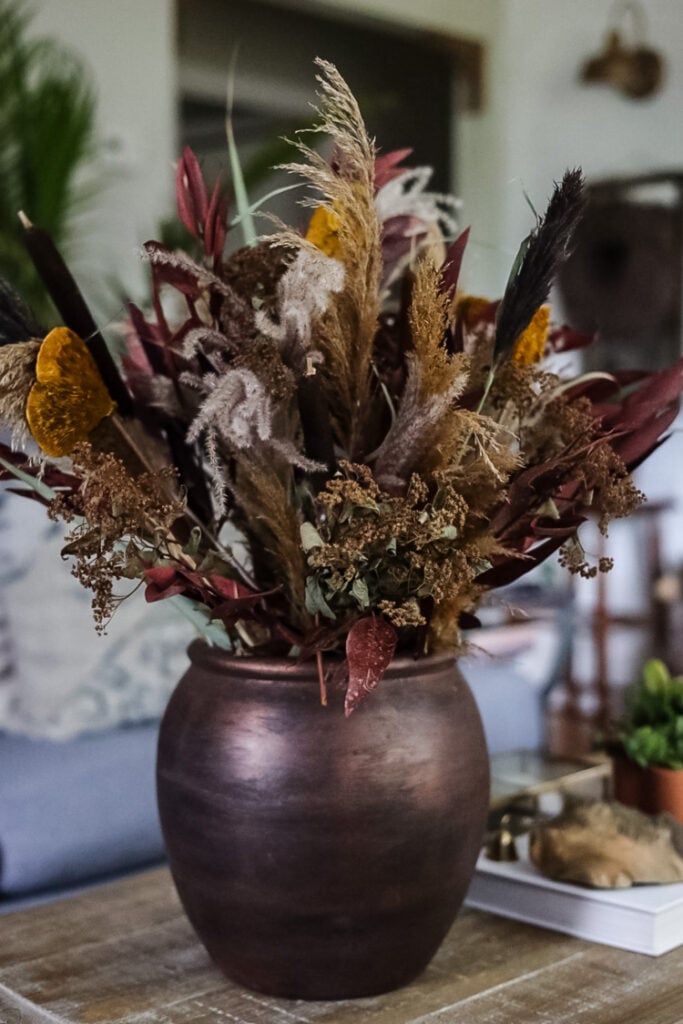
Step 8: The Final Adjustments

Now for the most important step: step back and look. I like to walk all the way around the arrangement, viewing it from every angle to make sure it looks balanced and full. This is the time to gently bend a stem, fluff a plume, or tuck in a stray piece until you’re completely happy with the result.
Pro Tip: Fluffing & Securing Pampas Grass
If your pampas grass arrives from the store looking a little flat or compressed, here’s a simple trick: place it in an empty vase and leave it in a sunny, dry spot for a day. The heat from the sun will help the plumes relax and expand beautifully. To help prevent shedding, give the plumes a light misting of hairspray from a distance once they’re fluffed. This helps keep those delicate strands in place!
How to Make It Last: Long-Term Care Tips
With a little care, your dried arrangement can bring you joy for many seasons to come! Here’s how to keep it looking beautiful year after year:
- Keep it Dry & Cool: Display your arrangement away from direct sunlight, which can cause colors to fade, and avoid humid areas like bathrooms, as moisture can cause stems to wilt or mold.
- Dust Gently: Use a hairdryer on the coolest, lowest setting to gently blow dust off the delicate plumes and flowers. You can also use a soft makeup or artist’s brush for more precise dusting.
- The Simple Storage Hack: This is my favorite tip! Save the cellophane sleeves that your dried flowers or grasses come in. At the end of the season, gently slide the entire arrangement (or individual delicate pieces) back into the sleeve. This protects them from dust and breakage, making storage incredibly easy and effective.
- Store with Care: Place the sleeved arrangement upright in a sturdy cardboard box in a cool, dry place like a closet or under a bed. Avoid stacking heavy items on top of it.
A Quick Note on Mindful Purchasing
The heart of this project is creativity and using the beautiful, free resources nature provides. Foraging is always my first and favorite choice!
But if you see a special preserved stem, a unique pod, or an element like shelf mushrooms that you truly love, remember this: think of it as a one-time investment. Unlike fresh flowers, these special dried pieces can be used season after season. A single purchase can become a treasured part of your decor for years, making it a sustainable and cost-effective choice in the long run. The key is to be intentional; choose pieces you absolutely adore and know you’ll reuse.
Shop Florals

Create Your Own Natural Masterpiece
I don’t know about you, but there’s nothing more satisfying than making something beautiful without spending a dime! This dried arrangement is proof that great style isn’t about buying new things, it’s about seeing potential everywhere: in your backyard, in your craft stash, even in last year’s decor. The truth is, your most meaningful pieces will always be the ones you create yourself. They make your house feel like home in a way store-bought items never could.
I hope this tutorial inspires you to take a basket outside, “shop” your own home, and see what beautiful arrangement you can bring to life. The best part? You can change it, add to it, and enjoy it for many seasons to come.
If you make your own version, I would be absolutely delighted to see it! Share your creations with me and I’ll add you to the Reader’s Spotlight gallery. Send a photo to me at jennifer@cottageonbunkerhill.com
xo, Jennifer
Love projects like this? Don’t miss out! Join my newsletter family for more cozy, budget-friendly DIY ideas delivered right to your inbox. You’ll get exclusive tips, early access to tutorials, and all the inspiration you need to make your home feel handmade and heartfelt.

best rug lookalikes
designer rug showdown
my best finds


This dried fall arrangement tutorial is so beautiful and resourceful — love how it uses everyday items!
Love the idea of bringing the outside in but I hesitate. Living in the Upper Peninsula of Michigan, deer ticks are rampant and I contracted Lyme’s disease in my yard this summer. Any suggestions as to how to prevent bringing the ticks in with whatever you forage?
One of my good friends lives in MI and I always tell you I want to visit the UP! Same in NH with deer ticks but in all my years of gardening and cutting flowers etc to bring in I’ve never had a tick on any of the branches or flowers; but I’m usually cutting higher up off of trees or shrubs. I do give everything a good shaking out before I bring it in to get rid of any hitchhikers though.
This turned out amazing! I love those shelf mushrooms.
They are so cool, right?!! I was looking for them in the woods to see if they grow here.