
Is your fall decor bin full of tired, dated pumpkins you never use? Mine too! Instead of buying new ones this year, I gave my old foam pumpkins a stunning (and super easy) faux cement makeover. This quick DIY transforms dingy pumpkins into modern, neutral decor that looks just like the high-end versions from Pottery Barn, for a fraction of the cost. Let me show you how!
How to Make Faux Cement Pumpkins: An Easy DIY for Fall
As I pulled out my Fall bins last week, one thing was clear: I had a serious pumpkin collection… and most of them were too tired or dated to use again. Instead of storing them away for another year, or worse, tossing them, I found inspiration in Pottery Barn’s beautiful terracotta and cement pumpkins. I realized I could easily give my old pumpkins a stunning, modern update with just a few supplies. This faux cement finish is so easy and transforms any pumpkin into elegant, neutral decor perfect for modern farmhouse style.
This post may contain affiliate links, which means I may earn a small commission if you make a purchase through my links, at no extra cost to you. Read my disclosure policy here.
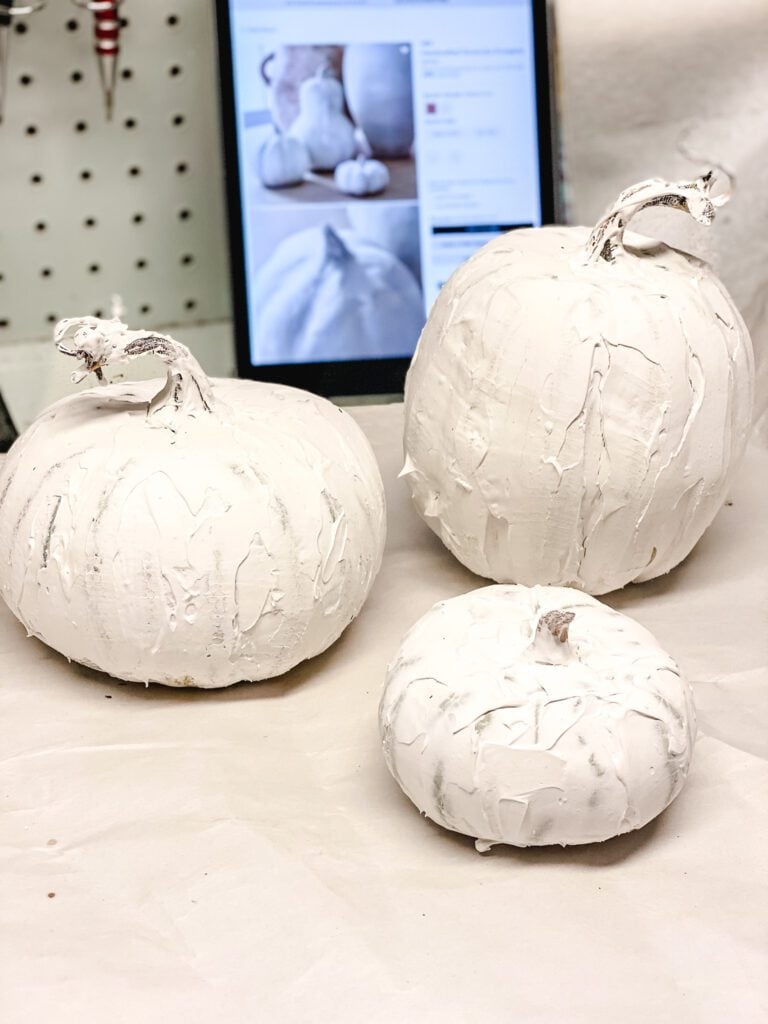
Here’s my inspiration for these faux cement pumpkins:

What You Will Need
To make a set of cement-looking pumpkins, you will need a few foam decorative pumpkins. Like I said earlier, I have quite a few that have seen better days.
Materials for this Project
- Foam pumpkins
- Joint compound
- Chalk paint/craft paint
- Paintbrush/toothbrush
Step 1: Gather Supplies

The first thing I did was sort through my fall bins to find a few old foam pumpkins in different sizes that needed a refresh. The ones I chose were originally from Walmart but you can use any faux pumpkins you have on hand!
The beauty of this project is that it works on almost any faux pumpkin: foam, plastic, or even ceramic. If you don’t have any lying around, now’s the perfect time to pick some up! You can find great options just about anywhere, so check your local dollar store, Michael’s, Hobby Lobby, or Walmart for affordable choices.
Step 2: Apply the Joint Compound
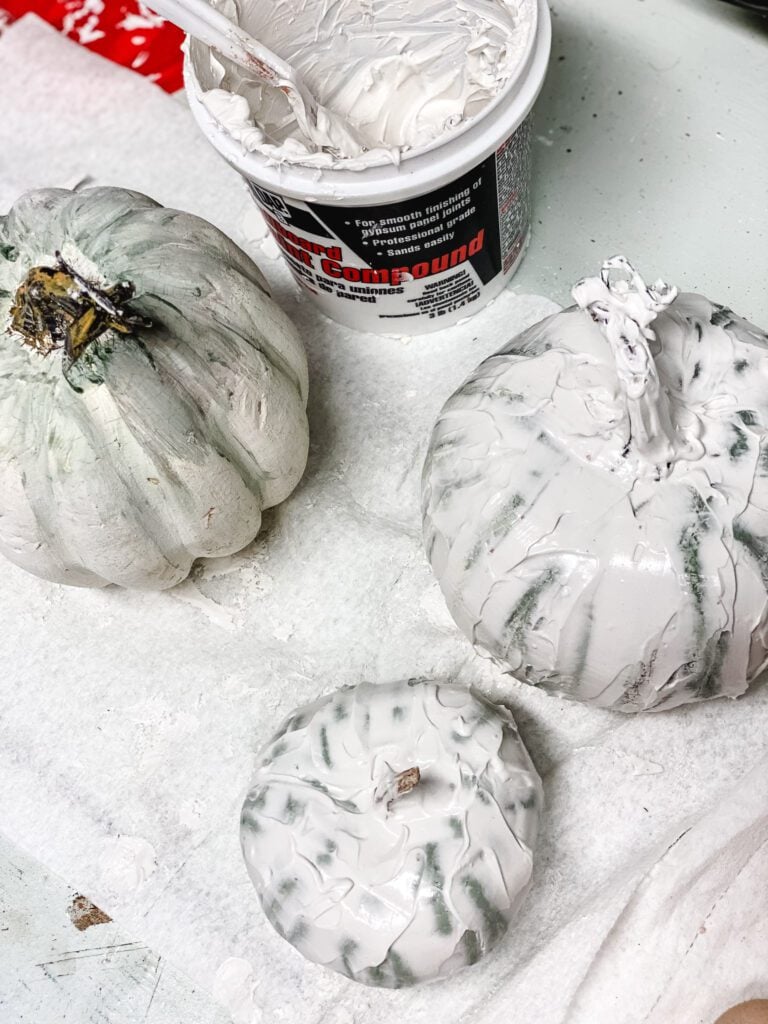
Now for the magic! I reached for my secret weapon and all-time favorite DIY product: a tub of joint compound. This is my go-to for creating realistic faux pottery and cement finishes
Important Note: Joint compound and spackle are not the same thing, and they perform very differently for this technique. Spackle tends to crack and doesn’t spread as smoothly, so for the best results, joint compound is a must!
- Scoop: Scoop a generous amount of joint compound into a disposable bowl or onto a paper plate.
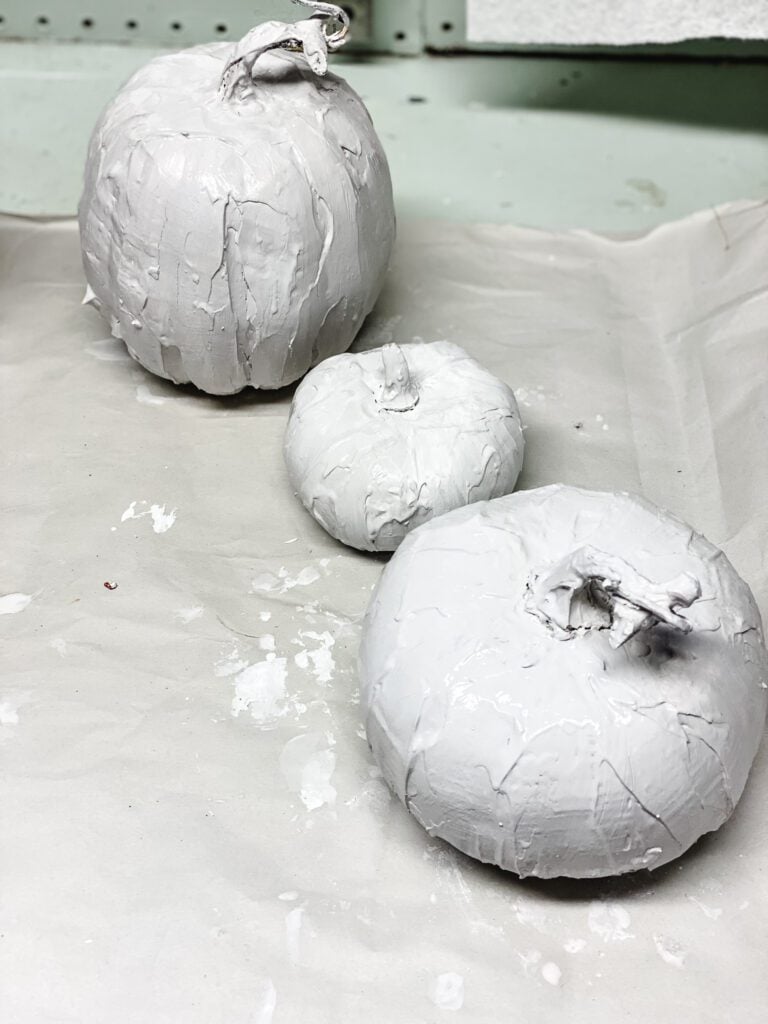
- Spread: Using a plastic paint knife (or even the back of an old plastic spoon or a cheap plastic knife), start spreading a thick, even layer over the entire surface of your pumpkin.
- Texture: Don’t aim for perfection! The goal is a rustic, textured finish. Let some strokes and imperfections show—it adds to the concrete-like character.
- Cover the Stem: This is key for a realistic look! Make sure to cover the stem completely with the joint compound, blending it seamlessly into the body of the pumpkin.
Let the joint compound dry completely. This can take several hours or overnight, depending on the humidity and thickness of your application.
Step 3: Paint the Pumpkins
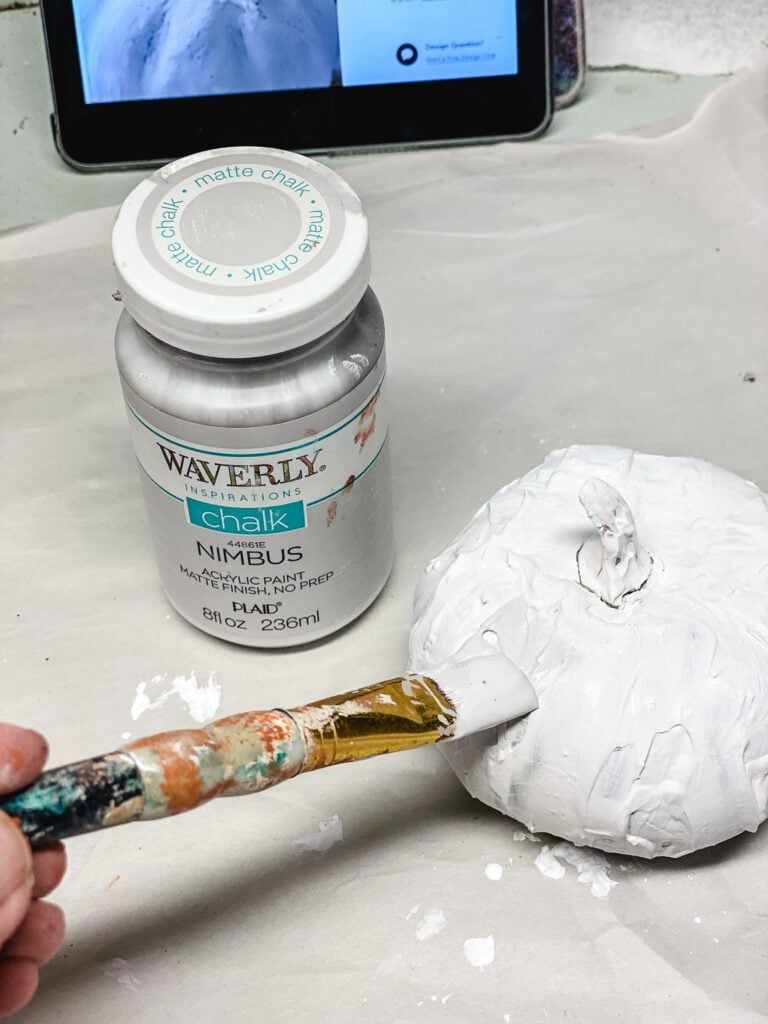
Now for the step that really brings the “faux cement” look to life! To achieve that perfect, slightly weathered concrete color, I used a grayish-white chalk paint.
I chose ‘Nimbus’ by Waverly for its cool, soft gray tone and excellent coverage. Because chalk paint is naturally thicker and more pigmented, one coat was all it took to fully cover the joint compound and give me exactly the opaque, matte finish I was looking for.
Don’t forget the stems!! This is a crucial detail for a seamless, realistic look. Make sure to get your brush into all the grooves and cover the stem completely.
Let the paint dry completely before moving on to the next step.
Step 4: Create the Faux Cement Speckles
This is the fun part that adds so much realistic texture and depth! The key to nailing the cement look is those tiny, random speckles.
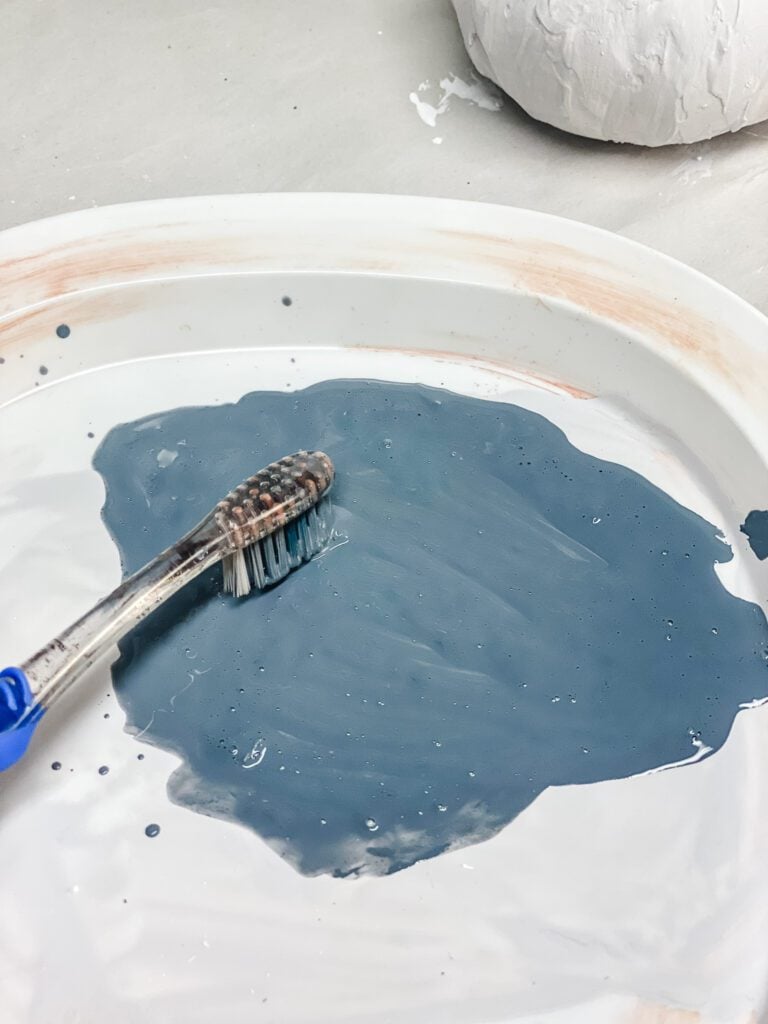
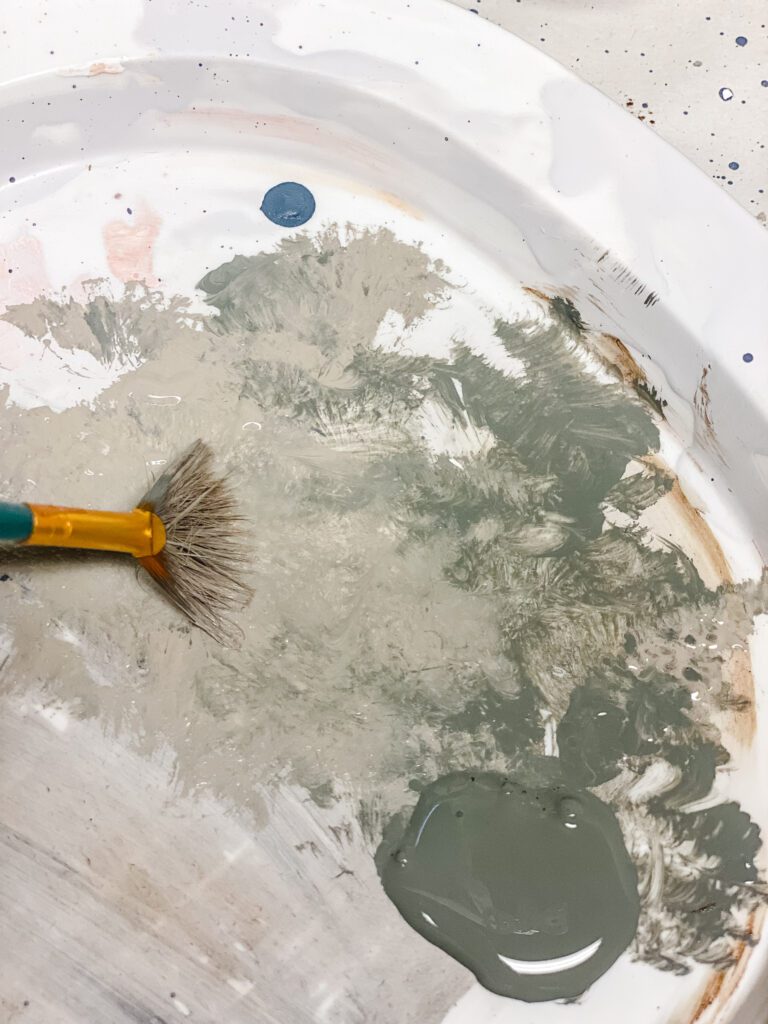
- Thin Your Paint: Squeeze a small amount of dark gray acrylic paint onto a disposable plate or palette. Add a few drops of water and mix until it’s thin and ink-like. This consistency is crucial for creating fine splatters, not big blobs.
- Load Your Tool: Dip the bristles of an old toothbrush into the thinned paint. Tap off any excess.
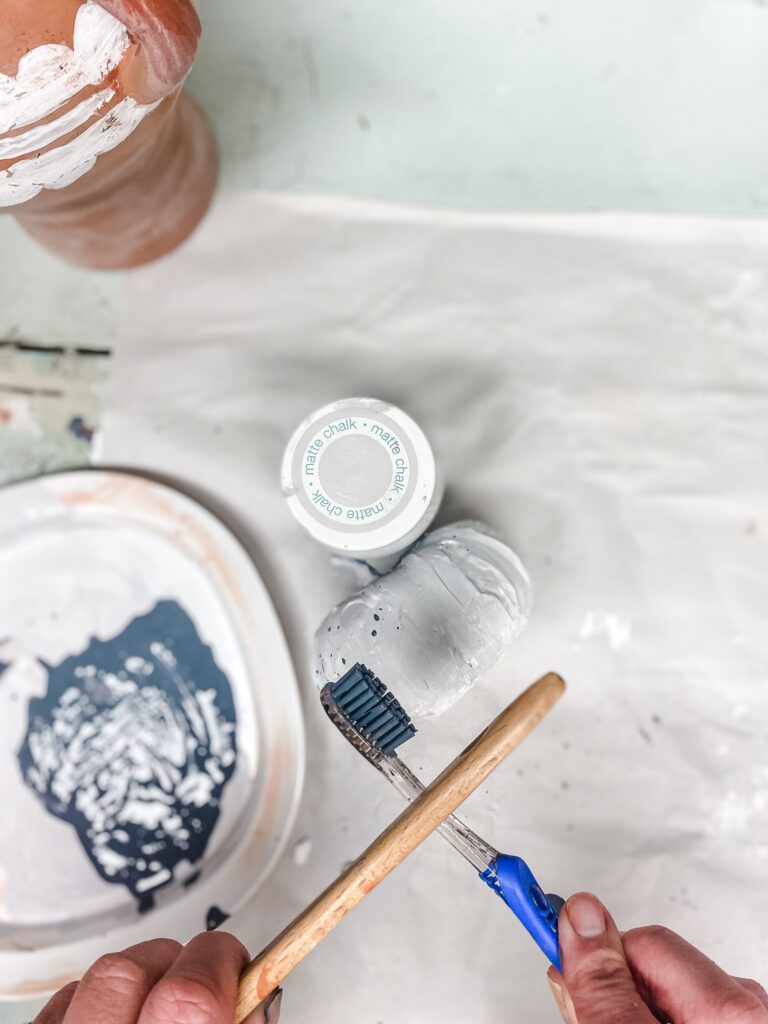
Choose Your Speckling Technique:
- Method A (The Flick): Hold the toothbrush bristle-side down over your pumpkin. Gently run your thumb or the handle of a paintbrush over the bristles, pulling towards you. This will create a fine, controlled mist of speckles.
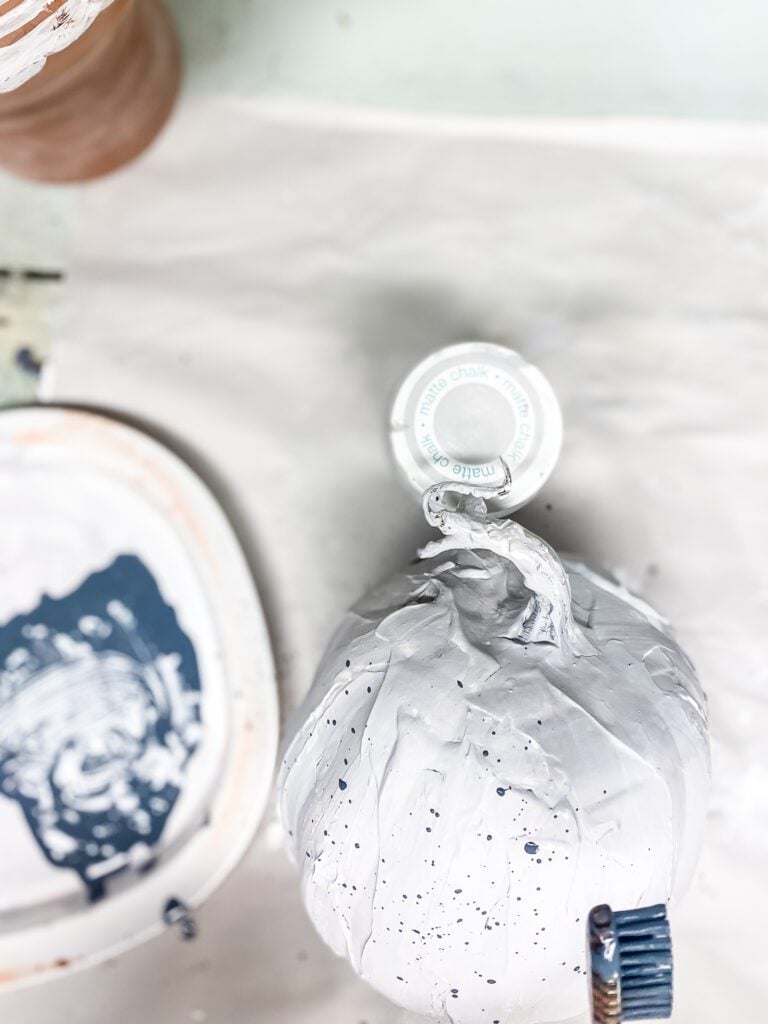
- Method B (The Tap): This is the technique I used for this project! Simply tap the toothbrush directly against the handle of another brush or your finger. This gives you a bit more control over where the specks land.
Step 5: Add Realistic Cement Details & Highlights
To truly capture the nuanced, textured look of real cement, just like my Pottery Barn inspiration. I added subtle layers of contrasting colors. Cement is never just one flat shade; it has depth and variation!
- Prepare Your Paints: Squirt a small dollop of two additional colors onto your palette:
- Dry Brush the Details:
- Lightly dip the very tips of your brush bristles into one of the colors. Wipe off most of the paint on a paper towel until the brush is almost dry.
- Lightly and quickly whisk the brush over the high points and textured areas of the pumpkin. The goal is for the paint to only catch on the raised texture from the joint compound, leaving the base color visible underneath. This technique is called dry brushing, and it’s perfect for creating dimension.
- Repeat the process with the second color, focusing on different areas.
- Blend and Assess: Step back and look at your pumpkin. The effect should be subtle and buildable. You can always add more, but you can’t easily take it away! Blend the colors with a very light touch if needed.

This final step of layering colors is what transforms your pumpkin from simply looking “painted” to authentically looking like aged, textured cement.
Optional Final Touch: Chalk Dust for an Ultra-Matte Finish

Your pumpkins already look amazing, but if you want to take the realism to the next level and achieve that truly chalky, ultra-matte finish that real cement has, this is my secret weapon!
I simply took a piece of white chalk and crushed it, creating a small pile of fine chalk dust. Then, I sprinkled the dust over the surface of the dry pumpkin and used my fingertips to gently rub and buff it into the texture.
This instantly mellows any harsh paint strokes, settles into the crevices for subtle highlighting, and gives the entire piece a soft, powdery, authentic cement feel. It’s the perfect final touch!
I had crushed chalk on hand from a couple of other projects last week: my Pottery Barn terracotta pumpkin dupe and my fake pottery jug vase.
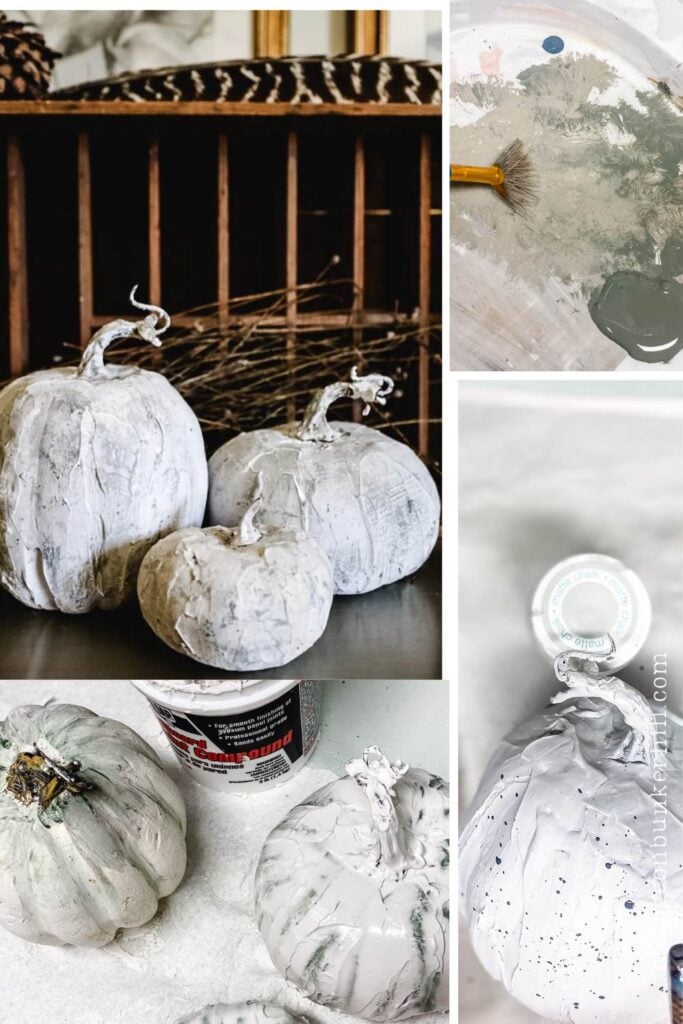
The Reveal: From Tired to Inspired!

Just look at that transformation! What were once dated, forgotten pumpkins are now stunning, high-end looking cement beauties.
It’s amazing how much texture and depth the joint compound added—it truly mimics the look and feel of real cement. Every speckle and dry-brushed highlight adds to the realistic effect, making them look like they came straight from a fancy home decor store rather than the back of my storage bin.

So before you even think about tossing those old, beat-up pumpkins, remember this project! With just a few simple supplies and a little creativity, you can upcycle them into something truly special that you’ll be proud to display year after year.
Looking for more pumpkin inspiration this Fall? Check out my pumpkin handbook!
See your projects featured! If you are inspired by this or any of my other DIY projects, I would love to see them and add you to the Reader’s Spotlight gallery. Send a photo to me at jennifer@cottageonbunkerhill.com
xo, Jennifer

Here are a few more pumpkin ideas to check out!


Jennifer,
These look great. Love the texture.
Thanks, Rachel!! I couldn’t believe how many pumpkins I’ve accumulated over the years…
These turned out amazing!!! I want them!
I’d send them down to you if it didn’t cost 5 zillion dollars to ship anything now!!